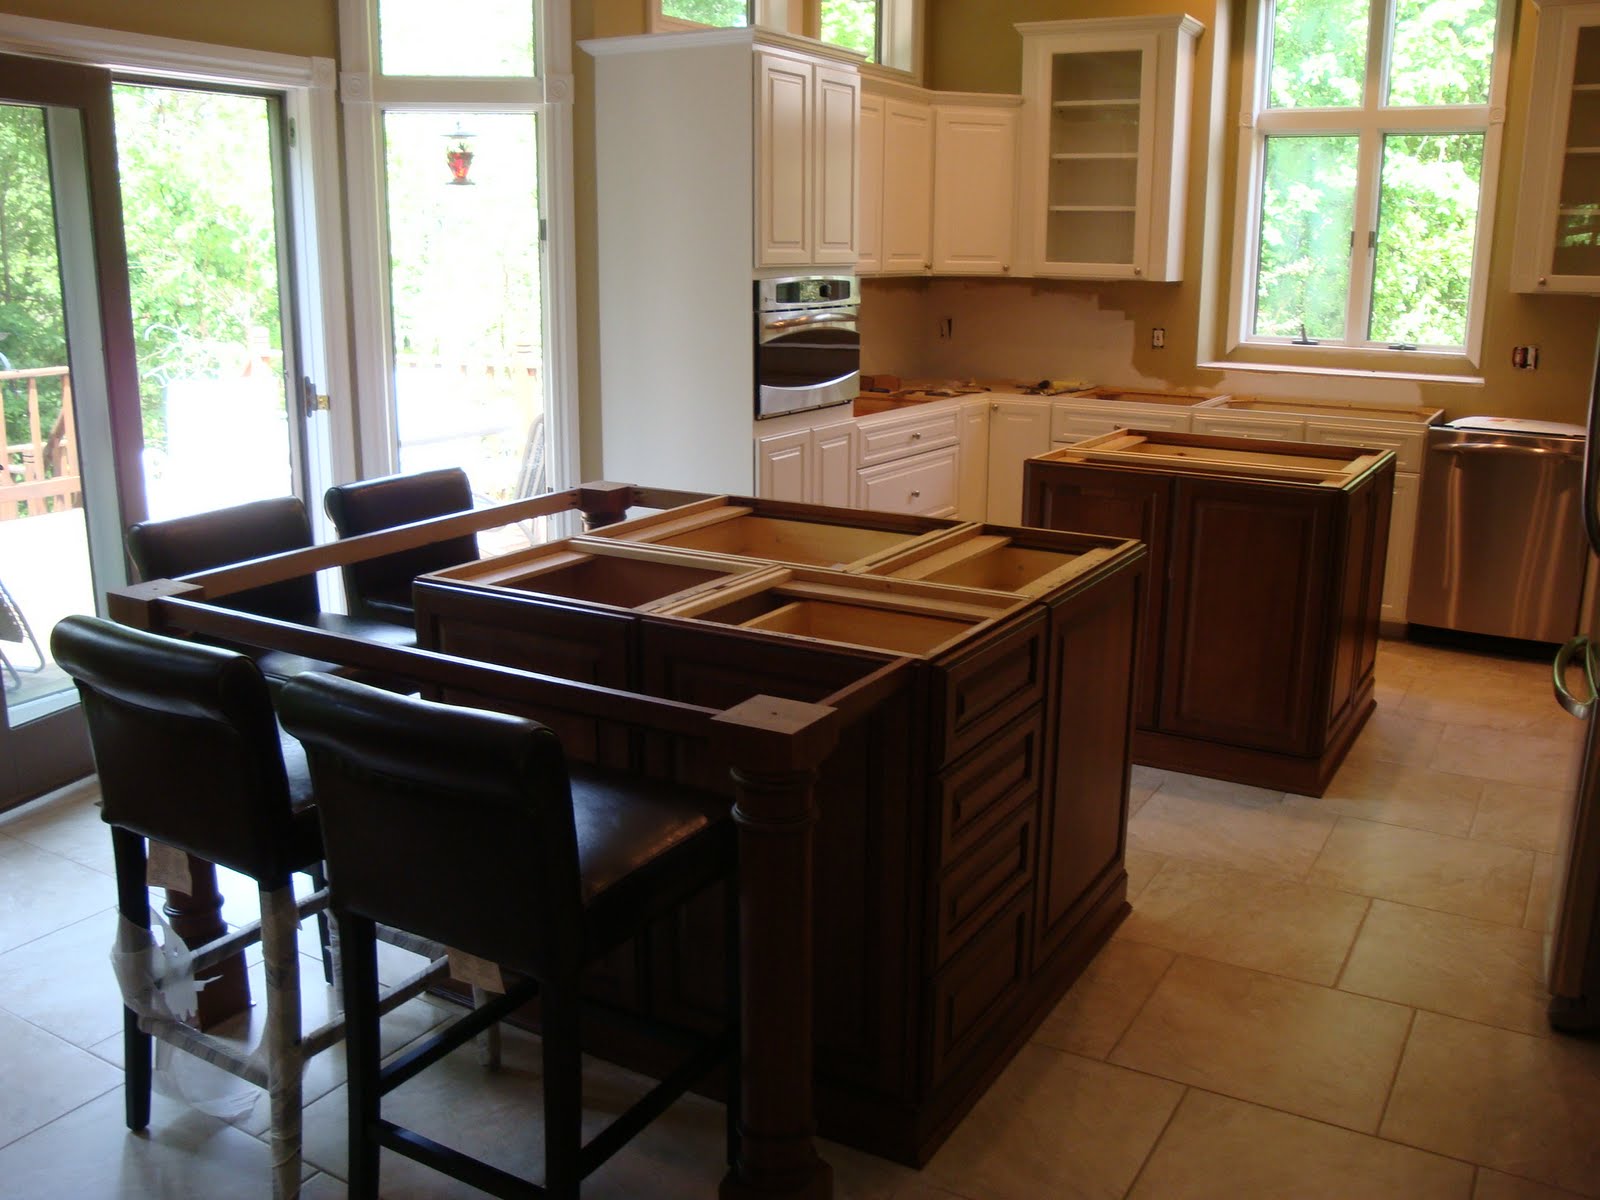
We knew we wanted to upgrade our kitchen counter tops as part of this remodeling process. What we didn't know was how overwhelming the options and choices would be. Wow - what a process!
Marble, Granite and Quartz Oh My!
I love the look of marble and always find myself flipping back to a picture of a kitchen with a marble counter top, especially the bakers station done in marble. However, with our perfectionist tendencies, and our lifestyle, I know that marble is just not the right medium for our family. Oh, but how I love Calcutta marble and Emperador Dark marble. My thought is to incorporate it into our home by doing a honed Calcutta gold marble subway back splash or a combination of honed Calcutta and Emperador Dark strips, with colored glass.
We really considered quartz, as based on everything we were read, it sounded like the super material for kitchens. We just couldn't find any colors or patterns that really inspired us. So much of it looked like the corian we had on our island for the last 17 years. We loved the corian at first, but with time it had a dull patina that didn't look like a nice honed dull, more like a 'I'm worn out and aged' kind of dull. I found one quartz that I really considered for the perimeter, it was the Caesarstone Espresso, and is a wonderful rich brown with a little bit of black in it. In the end though, I was afraid it looked a bit "plastic" and that it wouldn't have the depth that we wanted our counters to have.
Granite was always the choice for Ron. He loves the granites that have natural beauty with lots of variation and movement. I knew that we wanted to do two granites in our kitchen. On the perimeter we wanted a granite that looked more solid and consistent (thus the consideration for quartz) and in a brown tone, or black if we couldn't find a brown. For the islands, we wanted creamy white with neutrals such as black's, taupe's, beige's.
I searched the Internet tirelessly for inspiration photos and names of granites. I had lists for the perimeters, separated into browns and blacks, and lists for the islands that varied from the whitest granites to darker and even green variations.
My primary resources were the Granite Gurus (
http://www.granitegurus.com/), Gardenweb (
http://ths.gardenweb.com/forums/kitchbath/), Houzz (
http://www.houzz.com) and HGTV Kitchen designers portfolio (
http://ths.gardenweb.com/forums/kitchbath/ ).
I felt well prepared to start the search so Ron and I headed out, on my birthday, to the Granite Suburbs of Chicago. I don't know exactly how it happened, but all of the granite warehouses seem to be primarily located in the Northwest Suburbs of Chicago. Wonderfully convenient for those of searching for the perfect granite!
Boy, did we get an eye-opening. We started with 4 appointments set up for the day. After a 3 1/2 hour drive and a quick bathroom stop, and we stepped into our first granite yard. Stone Designs. We signed in and took a look around at the tile samples that were all around the walls. From those we added to the list of granites we liked to see, from the previously called in granites from my Internet searching. We were given our hard hats and we proceeded in to the giant warehouse of row after row of back to back granite slabs.
She quickly darted us in out of rows, stopping at those that were on the list. We were given a moment and then we moved on. At first we were just sort of following her lead, but as we progressed I realized that this is our kitchen, and our granite we are looking for, so we slowed her down and asked to go back and look at previous stones so we could get a clear picture of it in our minds. I think she realized she had been moving too fast as she changed her pace, and demeanor, and the remaining "tour" was much more relaxed and informative. We brought our door samples with us and took pictures of our favorite 2 granites with the cabinet doors.
That appointment went a little faster so we actually had time to sneak in another granite yard between Stone Design and our next appointment, which was to be T&M. So we stopped at ASD next, and saw some more beautiful granites. We brought our cabinets in and took more pictures. They had a gorgeous Bianco Antico, a Scurry River and a beautiful Olive Gold Macalla (Spelling?) that Ron really liked. (I had to remind him that we need to stick with the vision.)
Next stop T&M. Diane at T&M was amazing and walked through our kitchen plans with us before taking us into the showroom. She wanted to have an idea of our overall vision so she could assist us better. We looked at all the granite stones that we provided her with ahead of time, as well as stones she thought had a similar style. Again, we took pictures with several of the granite slabs with both our cabinet door samples.
We continued on to 2 other granite yards on this trip and 4 additional granite yards on a subsequent trip. We saw some beautiful stones and met some wonderful people that really do want to help you find the best granite for your project and are not at all offended it they don't have the right stone for you. We had one granite yard, Damar Stone, that saw our dog Savannah, a bishon-poo, in the car and told us to bring her in! I wanted to find a stone their just because they were so nice!
As I said earlier, I felt prepared for our search, and I was; somewhat. I felt comfortable with the granites, and most were familiar by name to me, so due to my searching on the Internet I felt less overwhelmed by the day. Ron, on the other hand, was completely out of his element. He has a great eye for design and especially for things like tile and paint color, and so would be true for granite. But when the exact same stone, by name, looks like 2 or sometime 3 completely different stones in different granite yards, it can be quite confusing to keep it all straight.
We also thought we were so smart to bring the camera so that we could take pictures. I filed all of the pictures, by granite yard, by name and lot in our digital library. But the camera doesn't do the granite justice, and it's not really the best medium to go back to for helping to make a decision because the colors are really not truly representative. Your memory of the slabs is probably your best guide.
However, making multiple trips, and reconfirming our love of the granite choices we made, proved to be worth it, just for sanity sake, so that we quit the second guessing.
Of all the stones, at all of the granite yards, Delicatus and Bianco Antico were the granites that were foremost in our minds for the islands. Delicatus has a wonderful creamy white with the neutral blacks, taupe's and beige's that we were looking for. Bianco Antico has a cooler white, but wonderful shiny mica chips and taupe's running through. Some of the Bianco slabs had too much pink, with the warm cinnamon that runs through but others just had thin strips of the cinnamon, adding to the warmth as the white is so much cooler.
We really liked the Delicatus offering at T&M but the slab in the main show room had a large variation from side to side and if we took both of our islands out that stone it would have looked like the islands were from two different granites. They happened to have three other lots of Delicatus so they lifted two slabs out of each lot to show us. The slabs from the first and second of the new lots were not at all what we were looking for and I was beginning to get quite frustrated. They didn't even look like Delicatus, or at least my vision of Delicatus. As they started to hoist up the slab from the third lot I could tell the colors were what I was hoping for. When it was fully exposed I was thrilled, and hoped this was the stone I was looking for. Ron and I both knew immediately that this would be the stone for our islands. Success!
Our Delicatus for the Islands:
Finding a stone for the perimeter was another challenge. All along I had my heart set on Brown Antique, in a satin finish. We really felt that all polished throughout the kitchen would give too much of a contemporary feel, where our decor is more traditional/muted tones/antique.
The Brown Antique in a polished finish is the perfect brown. Rich and elegant. In a satin finish you have to be very careful because it can pull more grey depending on the undertone of the slab. We found if the slab is more red on the rough edges, vs. silver, it pulls more brown when done in a suede finish. T&M had two gorgeous slabs of Antique Brown done in a satin finish. Unfortunately, due to the nature of the stone, they both had natural white fissures that ran the length of the stones. I knew that every time I walked into the kitchen, or when I was preparing my tea, I would do a double take, and have to remind myself that it wasn't a crack. Ron said he could just hear me every time someone stopped by to see the kitchen, "Oh, that's not a crack, its a natural element" - even when they didn't say anything. He is so right. Alas, we couldn't go with that antique brown. Thankfully Diane knows her granite and pulled out a Kodiak Brown, done in a satin finish, that has the same tonal value as the Antique Brown. It has a consistent pattern, not the wonderful variations like Antique Brown has, but when the light hits it, the particulates vary in shimmer, just like the Antique Brown does. It has no natural veining and looks like a perfect stone. Perimeter problem solved - 2 slabs of satin Kodiak Brown.

Our Kodiak Brown:
I have to admit, that my heart still desires the antique brown as I see it in pictures but I know that the Kodiak Brown will look wonderful and rich against our creamy white cabinets and stainless steel sink, and will provide a great backdrop to the Delicatus Islands.
Our granite has been shipped to our fabricator and awaits the remaining components of our work that have to happen before we can begin the templating. We selected a Crescent edge on the Kodiak Brown for the perimeter and chose to do an Eased Ogee edge on the Islands. In working with our fabricator we are also going to do a window sill. The window sill is 14" deep and 48" wide and sits above the sink that will be surrounded by the Kodiak. We need to decide which granite to do the window sill in, but as we aren't in agreement we will put that final granite decision off for now.